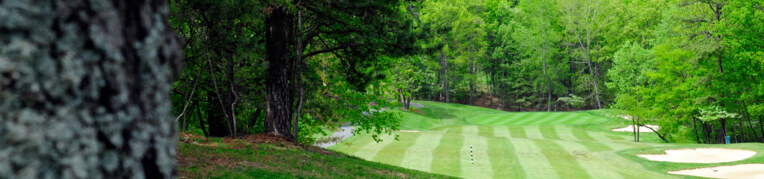
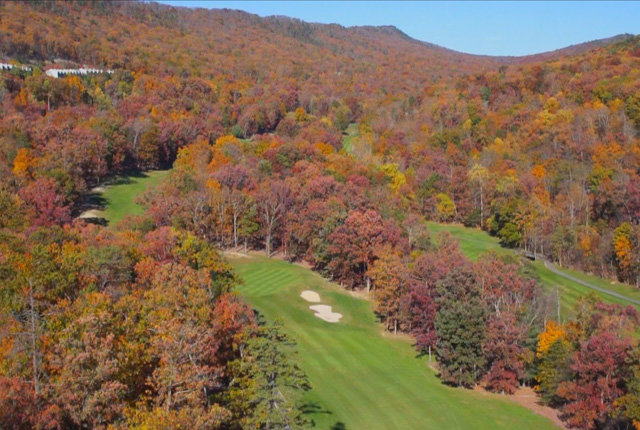
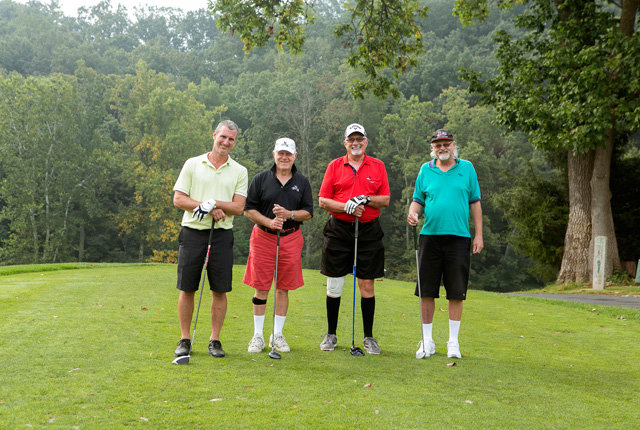
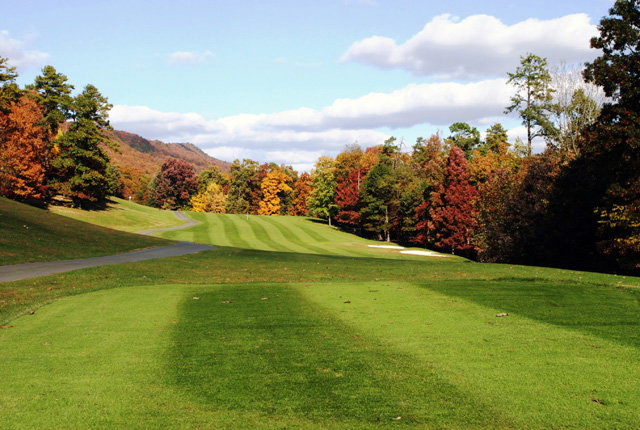
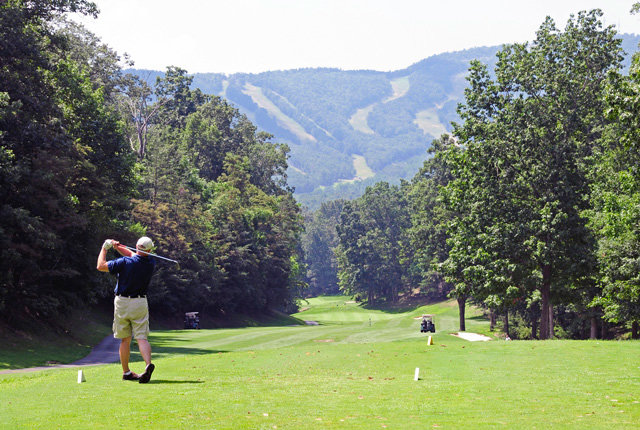
Course Layout
Course Layout
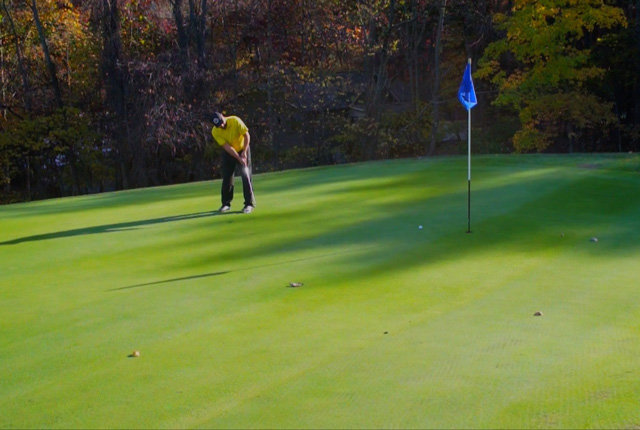
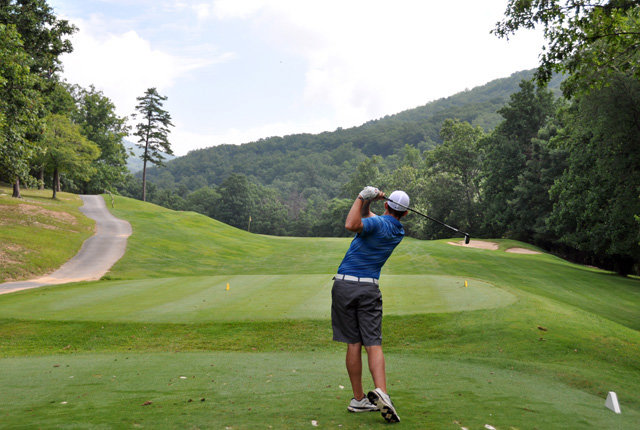
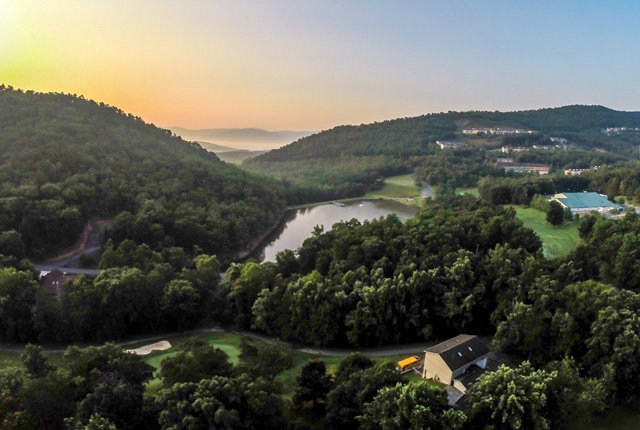
Mountain Greens Golf Course®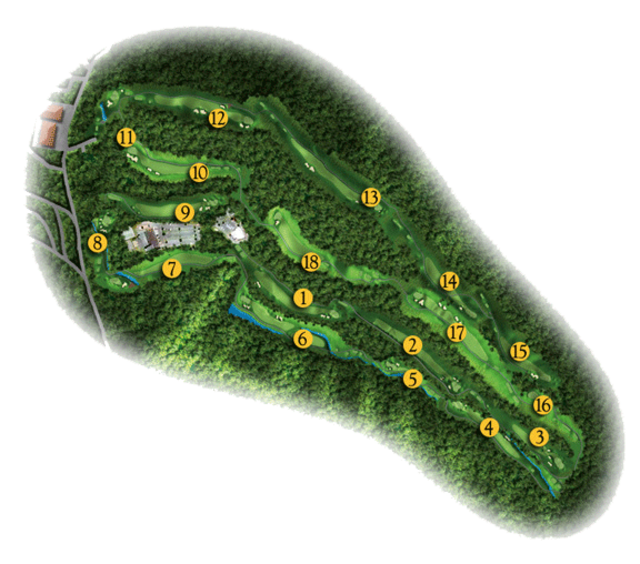
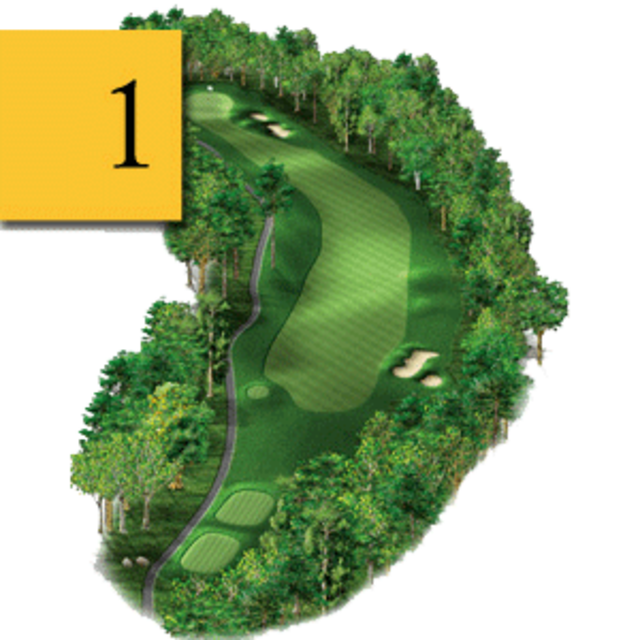
| Hole 1 |
|---|
| Par: 4 | Blue: 396 | White: 381 | Gold: 365 | Red: 297 |
A tee shot played with a long iron or fairway metal that favors the left-side is ideal. An accurate approach played to the proper section of the green should assure an opening par.
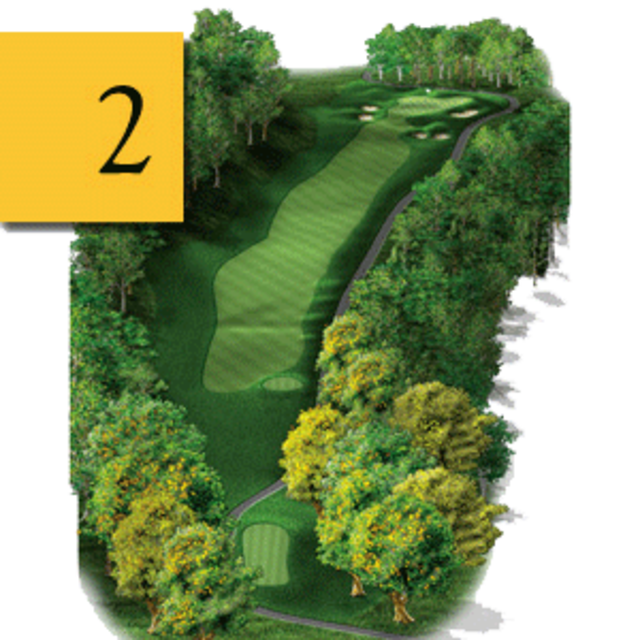
| Hole 2 |
|---|
| Par: 5 | Blue: 501 | White: 487 | Gold: 365 | Red: 297 |
Playing this tree lined par 5 in three shots will give a player the best chance to make birdie. A second shot laid up short of the 100 yard marker will provide a better view of the well-bunkered, undulating green.
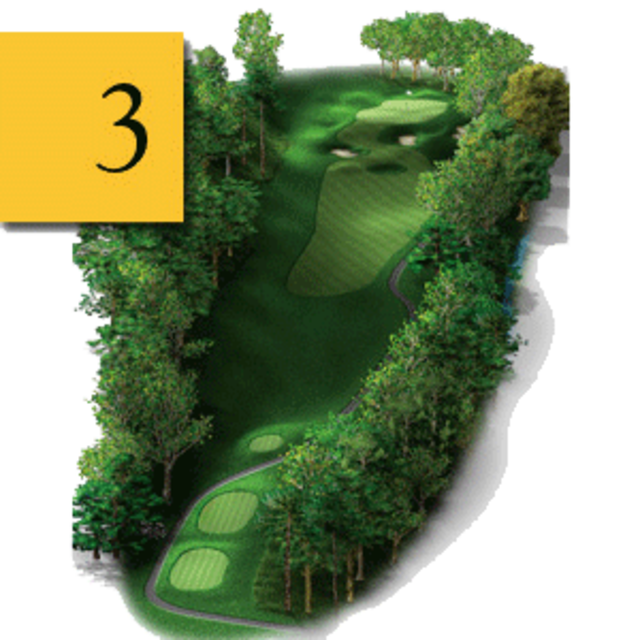
| Hole 3 |
|---|
| Par: 4 | Blue: 366 | White: 351 | Gold: 327 | Red: 290 |
On this elevated green it is essential to find the correct tier to have a chance for par. Add one to two clubs for a back pin placement.
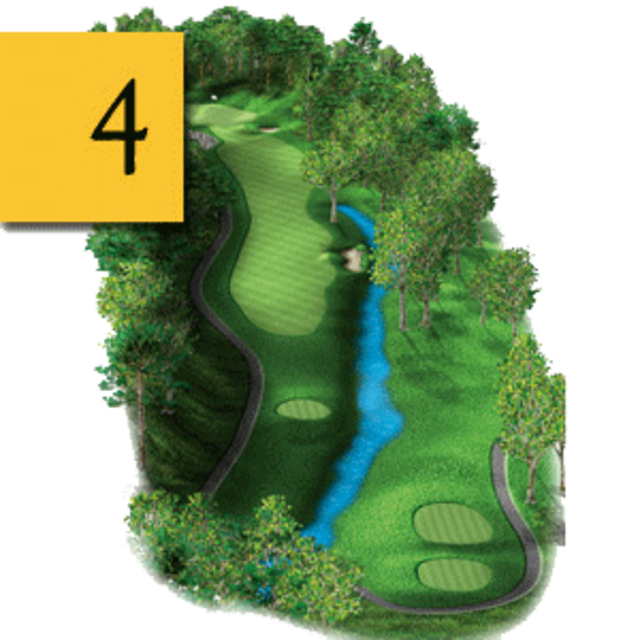
| Hole 4 |
|---|
| Par: 4 | Blue: 401 | White: 394 | Gold: 372 | Red: 315 |
A very tight and demanding hole. Accuracy is crucial throughout this hole so taking the proper club to find the fairway and green will improve your chance for par.
| Hole 5 |
|---|
| Par: 3 | Blue: 188 | White: 180 | Gold: 162 | Red: 144 |
A medium length par 3 with a very deep green. It could require two more clubs to reach a back pin placement.
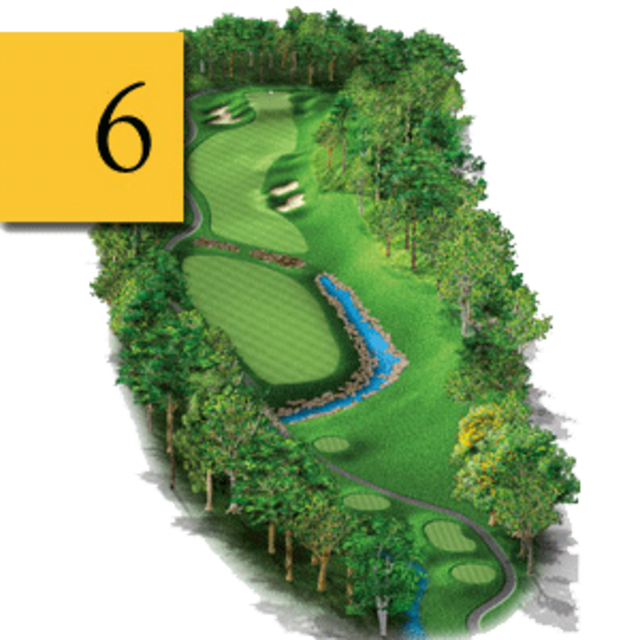
| Hole 6 |
|---|
| Par: 5 | Blue: 475 | White: 453 | Gold: 420 | Red: 379 |
The creek that separates the fairway swallows many tee shots. Laying up short of the creek and playing the hole as a three shot, par 5 will give you the best chance for birdie.
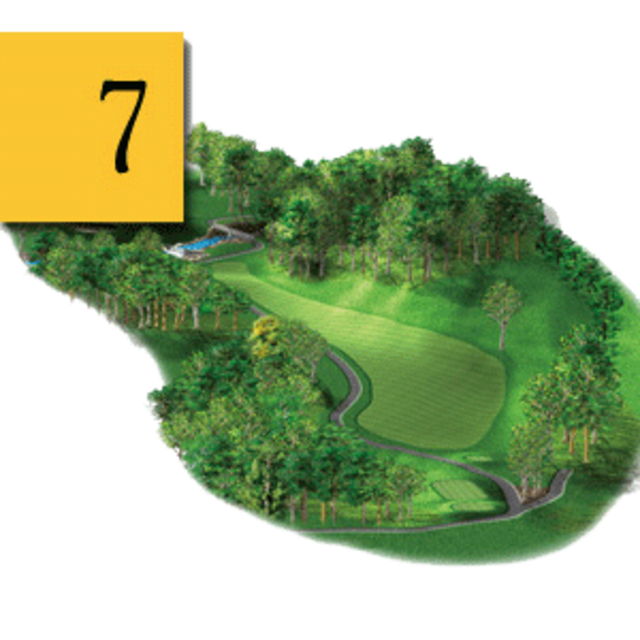
| Hole 7 |
|---|
| Par: 4/5 | Blue: 427 | White: 414 | Gold: 396 | Red: 354 |
The number one handicap hole requires a very demanding tee shot. A second shot, carrying the creek will require an extra club or two to reach a back pin placement.
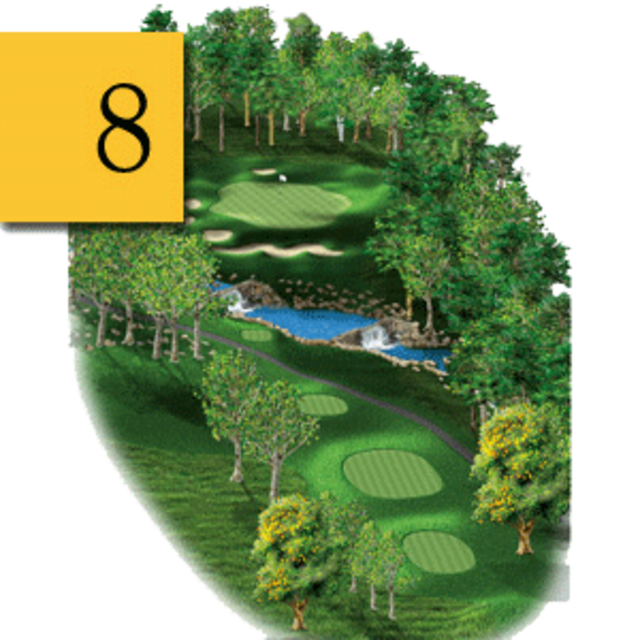
| Hole 8 |
|---|
| Par: 3 | Blue: 170 | White: 140 | Gold: 110 | Red: 73 |
Our signature hole features an uphill par 3 to a well-bunkered green. Make sure to take enough club to clear the "M" bunker short of the green for a well-earned par.
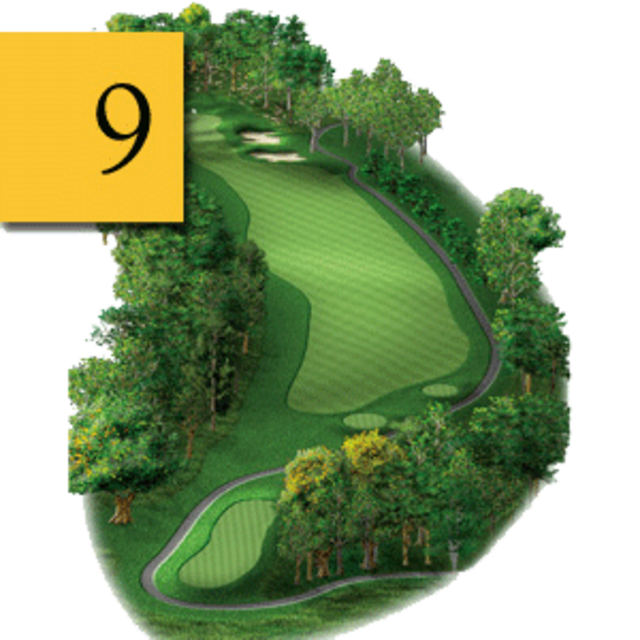
| Hole 9 |
|---|
| Par: 4 | Blue: 355 | White: 331 | Gold: 275 | Red: 257 |
A short dogleg left par 4. Hitting a long iron or hybrid to find the fairway is the preferred play. This leaves a mid-iron into a deep undulating green.
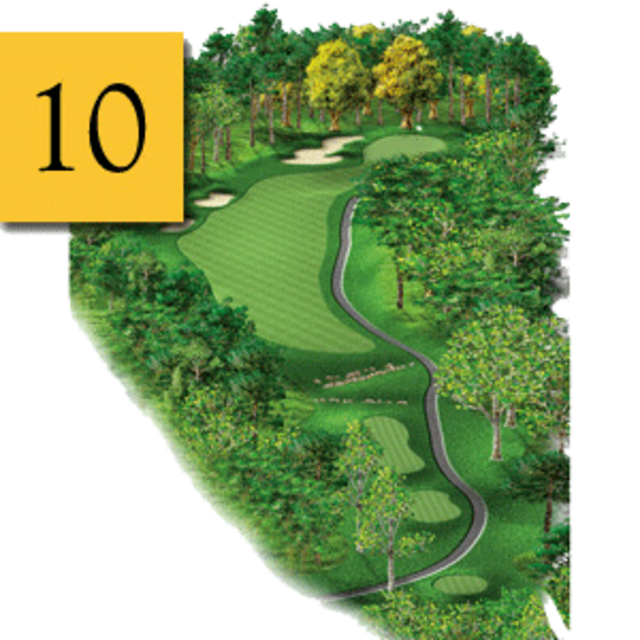
| Hole 10 |
|---|
| Par: 4 | Blue: 363 | White: 316 | Gold: 292 | Red: 277 |
This short, dogleg right par 4 is a great hole to start your inward nine. A generous fairway leads to a large green sloping back to front.
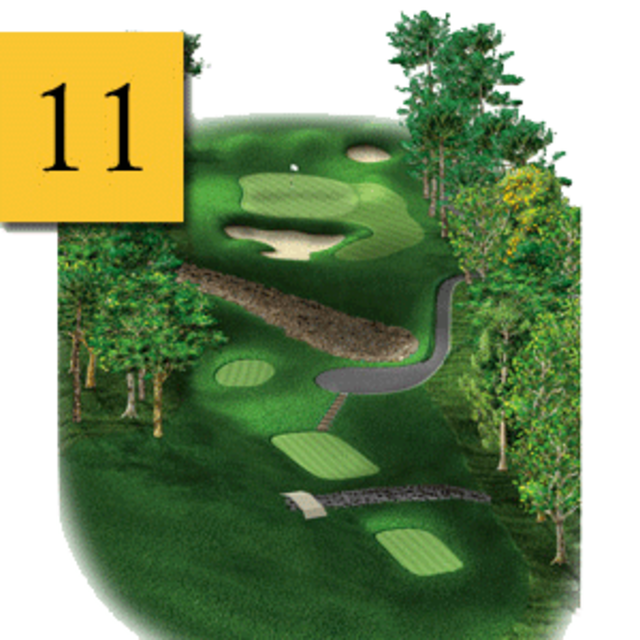
| Hole 11 |
|---|
| Par: 3 | Blue: 142 | White: 134 | Gold: 112 | Red: 92 |
Our shortest par 3 features an uphill tee shot guarded by a large bunker short of the green. A miss to the right is your only bail out.
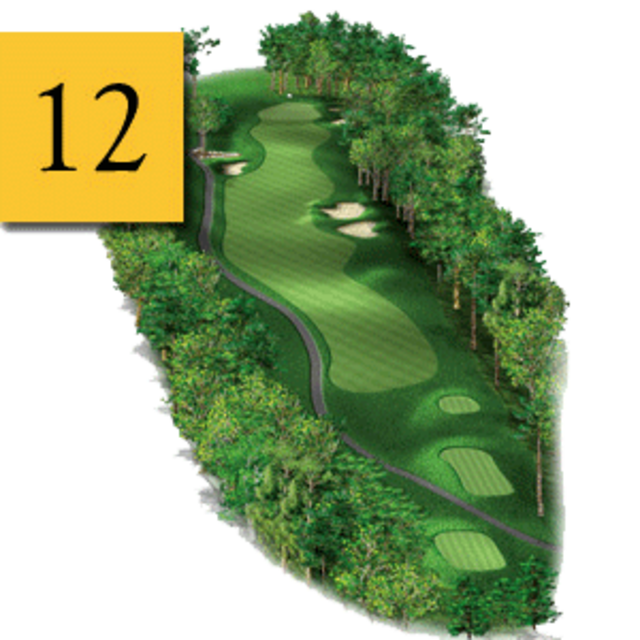
| Hole 12 |
|---|
| Par: 4 | Blue: 347 | White: 309 | Gold: 302 | Red: 283 |
Options abound on our most scenic par 4. A well-placed tee shot avoiding the three fairway bunkers can lead to an easy birdie.
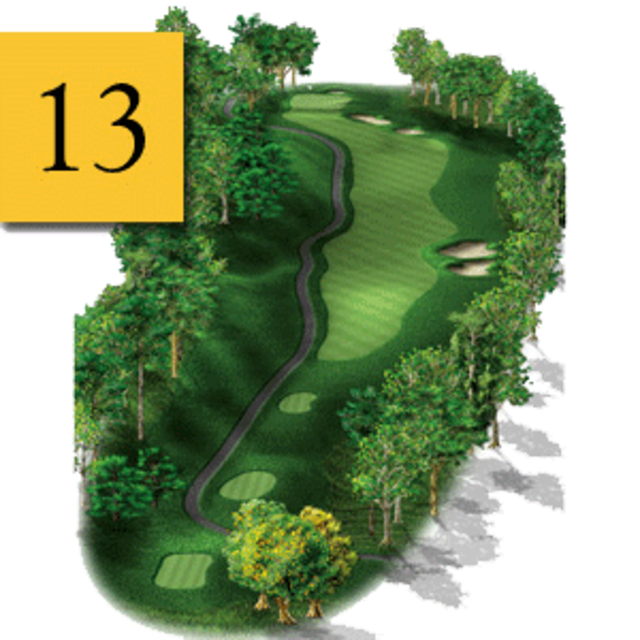
| Hole 13 |
|---|
| Par: 5 | Blue: 500 | White: 489 | Gold: 430 | Red: 383 |
A challenging par 5 that is reachable in two for the longer hitters. A target placed behind the green will align you on this blind second shot.
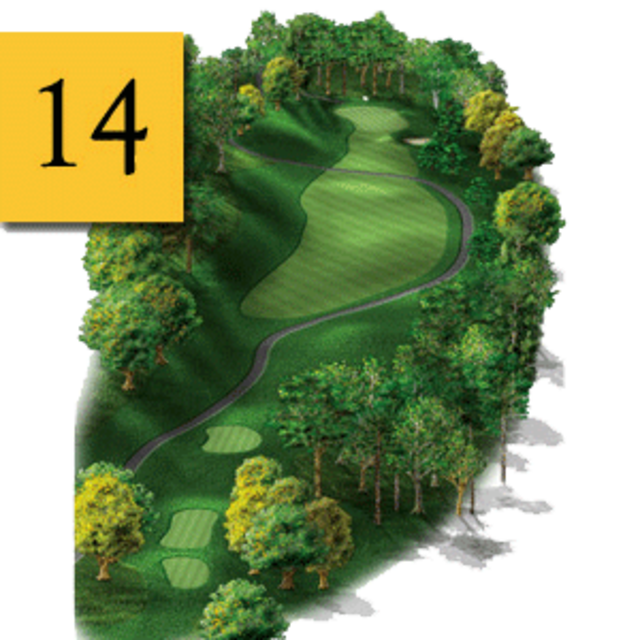
| Hole 14 |
|---|
| Par: 4 | Blue: 376 | White: 352 | Gold: 313 | Red: 301 |
A straight forward par 4 that requires an accurate tee shot. A well-placed drive favoring the left-side will leave you with a mid iron to a slender green.
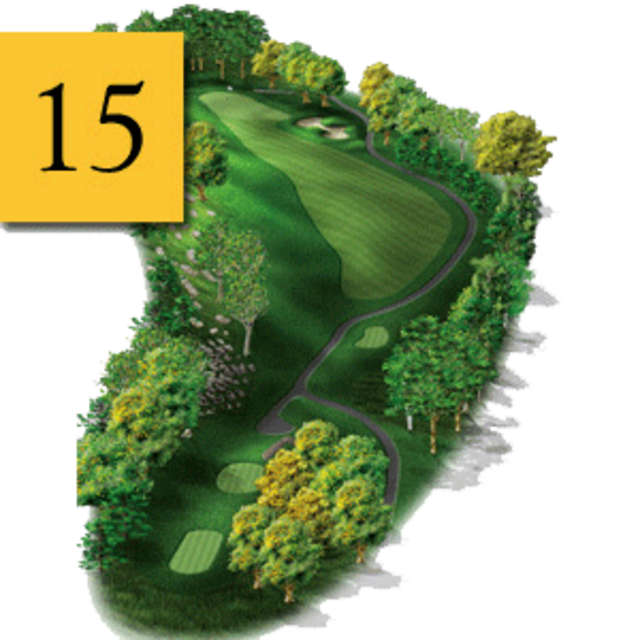
| Hole 15 |
|---|
| Par: 4 | Blue: 352 | White: 338 | Gold: 314 | Red: 231 |
A sharp dogleg left par 4. A draw or hook tee shot plays well to this two-tiered fairway. An uphill approach shot missing the green right will almost assure a bogey.
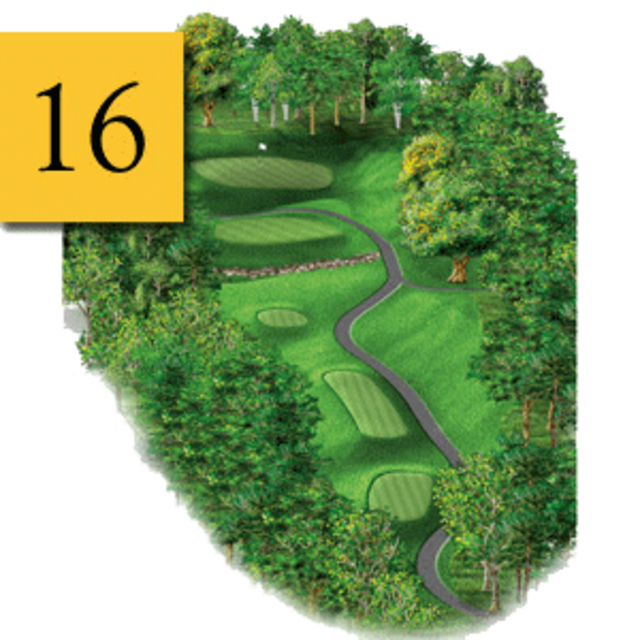
| Hole 16 |
|---|
| Par: 3 | Blue: 190 | White: 176 | Gold: 151 | Red: 137 |
Accuracy is a premium on our longest par 3. A tee shot to an elevated green favoring the right-side should funnel to the putting surface.
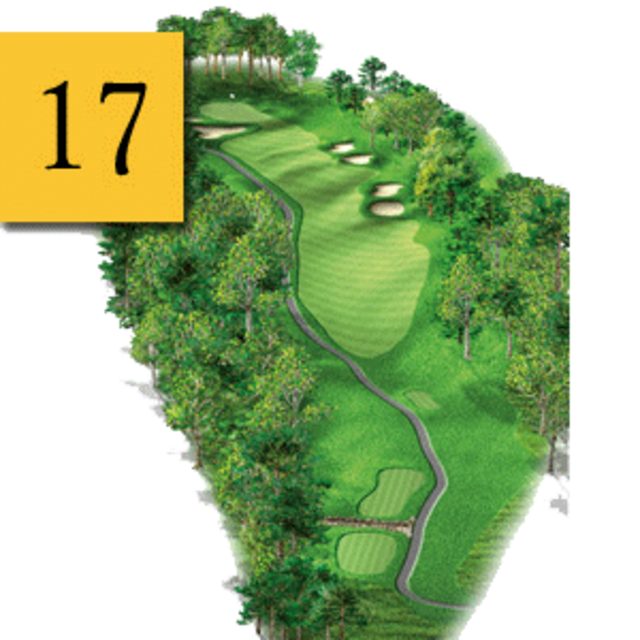
| Hole 17 |
|---|
| Par: 5 | Blue: 479 | White: 465 | Gold: 440 | Red: 426 |
A narrow, downhill par 5 that slopes from the right to the left. A tee shot favoring the right-side should stay in the fairway leaving a reachable second shot and a chance for birdie.
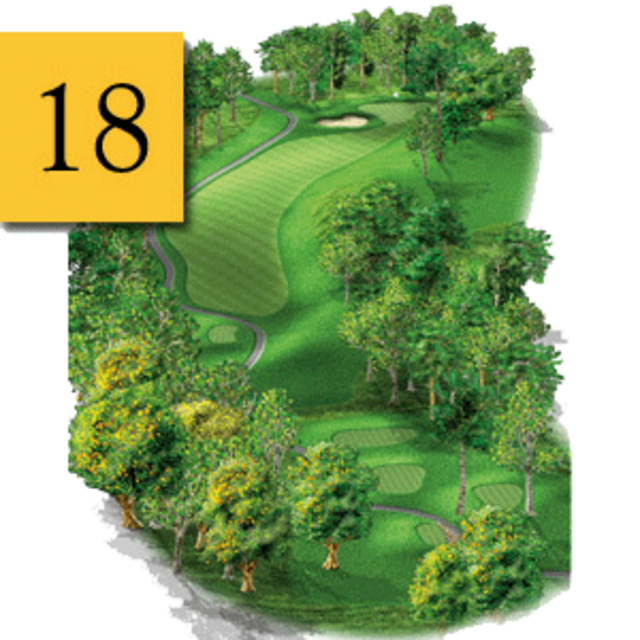
| Hole 18 |
|---|
| Par: 5 | Blue: 415 | White: 377 | Gold: 358 | Red: 252 |
A tee shot from an elevated tee box will find a generous fairway waiting. Birdies are plentiful if you avoid the lone bunker around this small green.